Basic settings for NDD Print MF HP
Before starting to add devices to use the features, we must configure NDD Print MF HP.
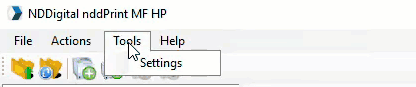
To access the settings
Open the NDD Print MF HP interface
In the menu, click on Tools > Settings
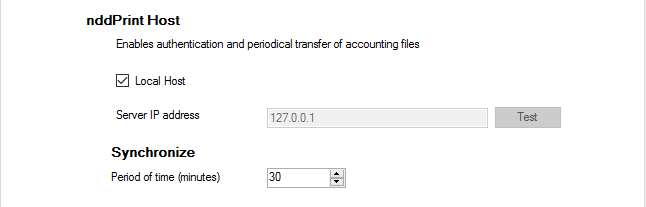
1. NDD Print Host server
To use the authentication, accounting and/or copy control features, the NDD Print Host address must be configured.
Go to the Server tab
Uncheck Local Host if the NDD Print Host is on another server
Fill in the server address
Click Apply > OK
Setting the time for sending the information to the NDD Print Host in Synchronize.
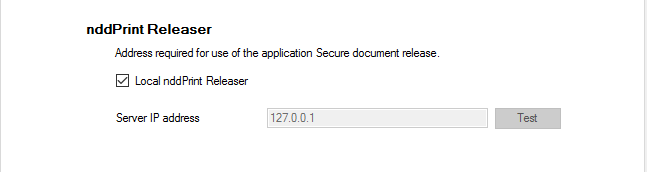
2. NDD Print Releaser Server
To use the secure release feature, you need to configure the NDD Print Releaser address.
Go to the Server tab
Uncheck Local nddPrint Releaser if the NDD Print Releaser is on another server
Fill in the server address
Click Apply > OK
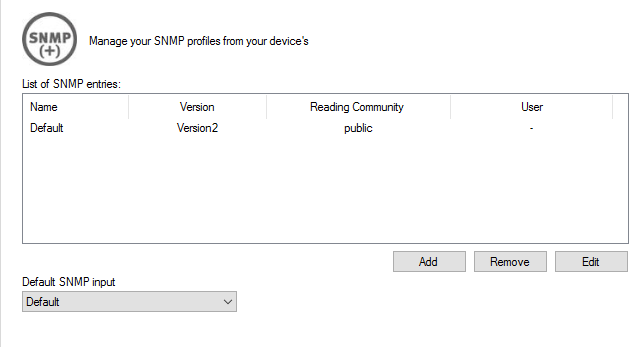
3. SNMP
Here, you can configure the SNMP protocol used by the printers in the environment. By default, the configuration comes with version 2 and your reading community as public.
Go to the SNMP tab
Click on Add
Fill in the SNMP profile information
Click on Add
You can select the default entry for adding equipment, as well as edit or delete the profiles you have added.
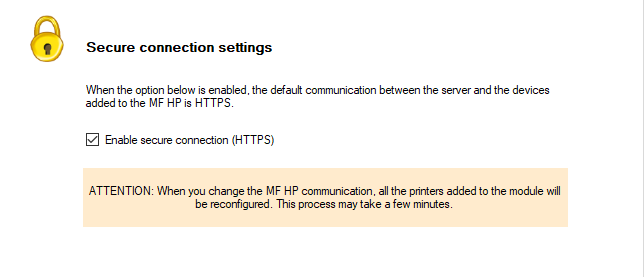
4. HTTPS
Here, you can configure the protocol that will be used for communication between the NDD Print MF HP and the added devices.
Go to the HTTPS tab
Click on Enable secure connection (HTTPS)
If you have printers already added to NDD Print MF HP, they will be reconfigured for the new communication protocol. This process can take some time, depending on the number of printers added.