Distributing NDD Print applications
This section describes the licensing and distribution procedure for NDD Print Client and NDD Print CollectorCOMING SOON.
Licensing applications
Step 1: Generate the CSV file with the serial number(s)
Create a CSV file
Enter the serial numbers that will be licensed
Each serial number must be on a separate line and must not contain any special characters or spaces.
Save the file
Step 2: Send for licensing
Depending on the location of the equipment, send the file to the e-mail address:
Europe, Middle East and Africa (EMEA) | saleseurope@nddprint.com |
|---|---|
Latin America (LATAM) | assiscom@ndd.tech |
Serial numbers must be sent at least 24 hours before installation, and licensing will only be carried out during business hours.
You will be replied to in the same e-mail with the installation and licensing file.
Distributing the applications
Download the applications according to the licensing region (EMEA or LATAM)
Download content | Description |
|---|---|
NDD Print Client Canon (LATAM) | Authentication (Client) and Secure Release (Access) applications registered in the LATAM region. |
NDD Print Client Canon (EMEA) | Authentication (Client) and Secure Release (Access) applications registered in the EMEA region. |
COMING SOON NDD Print Collector Canon (LATAM) | Monitoring application registered in the LATAM region. |
COMING SOON NDD Print Collector Canon (EMEA) | Monitoring application registered in the EMEA region. |
In the iWEMC tool
Select Data Management > Applications
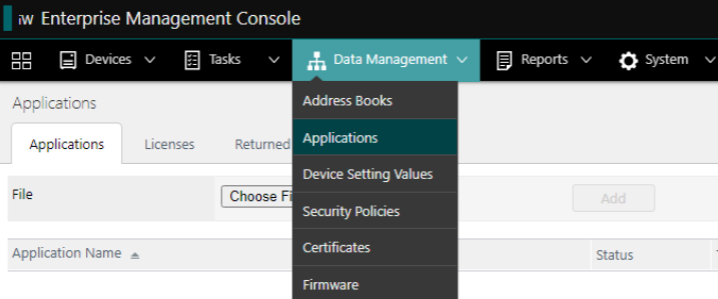
Applications
In the Applications tab, click on Choose file
Select the .jar file of the NDD Print application you downloaded earlier
On the Licenses tab, click Choose file
Select the .lic file according to the application you want to distribute
The license file must be related to the application you want to distribute.
Click Add
Activate the button for the license you want to distribute
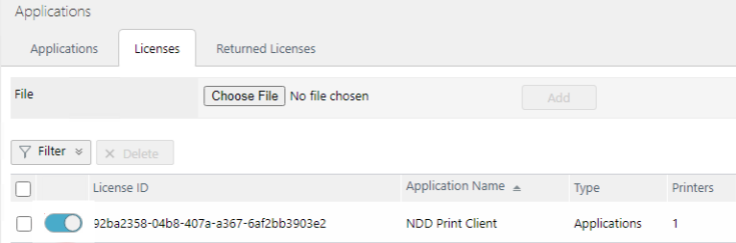
Licenses
Setting up the application distribution task
Select Tasks > Task list
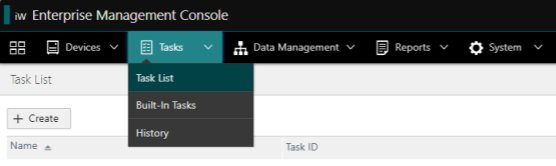
Task list
Click the + Create button
Search for [Application] Install/Update Applications
Now we have to configure the 2 tabs:
Scheduled |
|
|---|---|
Task-Specific Settings |
|

Click on Add