Configuring the initialization of the NDD Print Client Canon after authentication
In this article, you will learn how to configure the device to allow the Canon NDD Print Client to be initialized after authentication.
Before you start
This configuration must be carried out immediately after Installation of NDD Print Client Canon.
This configuration must be carried out before restarting the device.
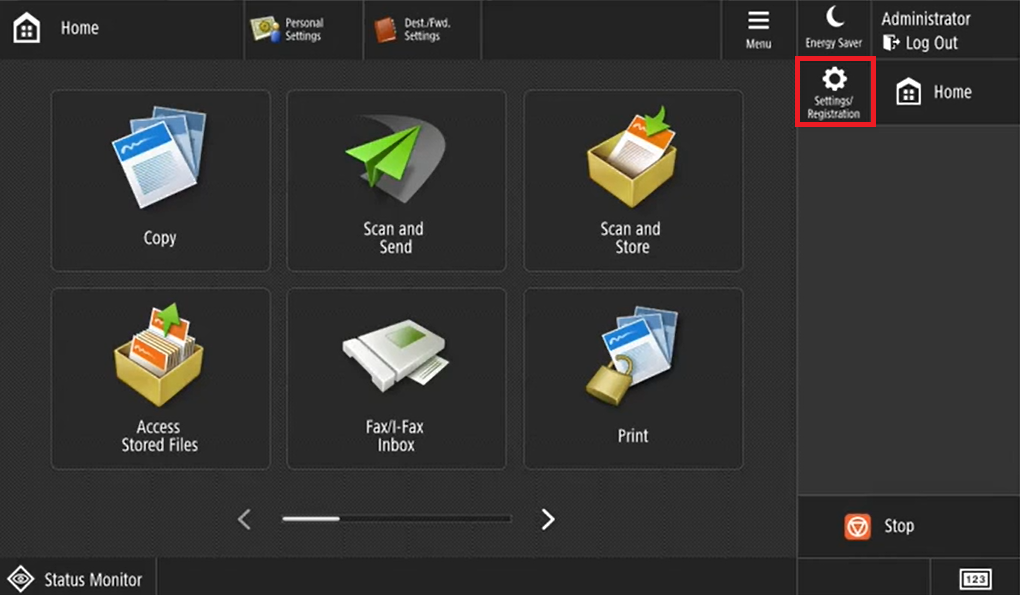
On the printer screen, authenticate as the Administrator user
Click on Settings/Registration
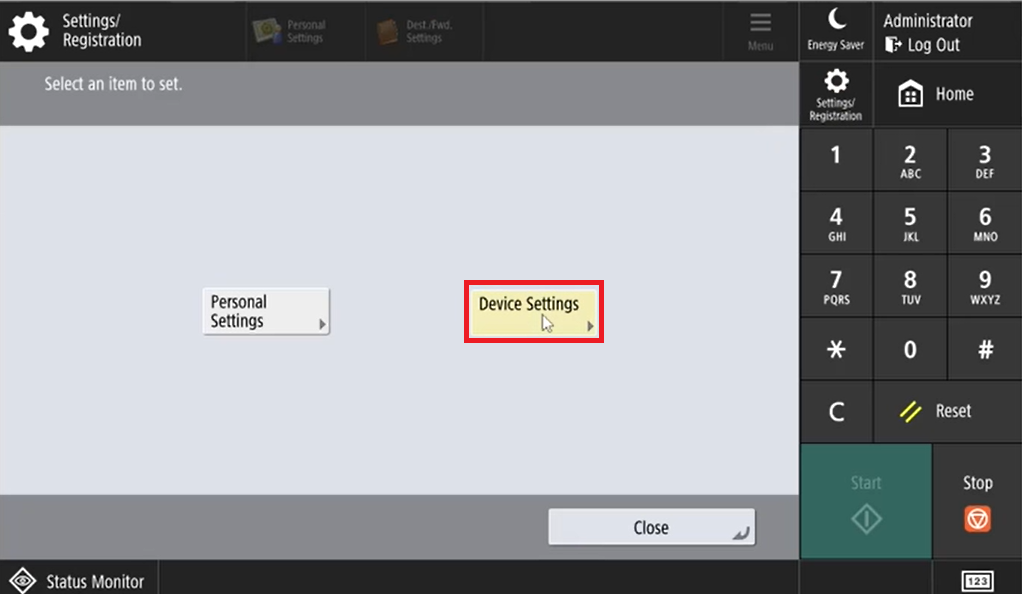
Access Device Settings
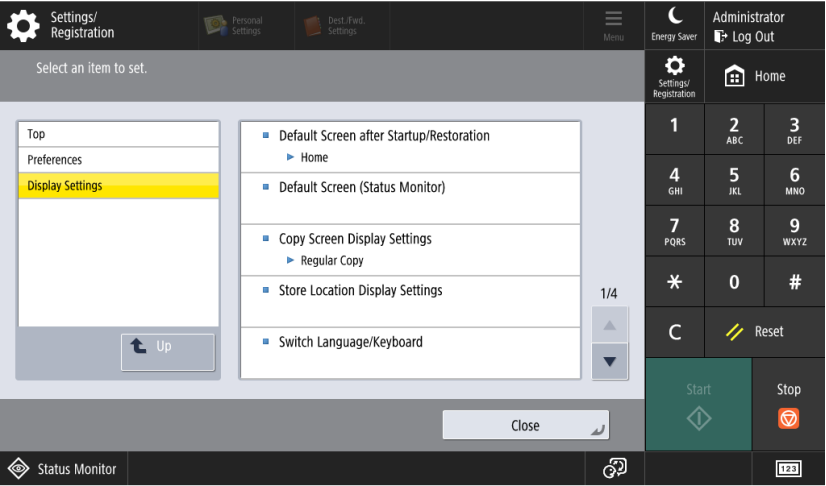
Click on Preferences > Display Settings > Default Screen after Startup/Restoration
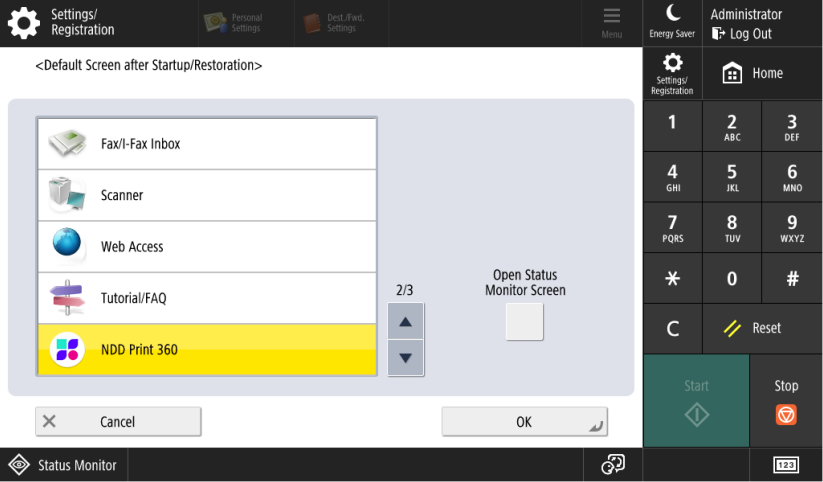
Select the NDD Print 360 and click OK
In Settings/Registration
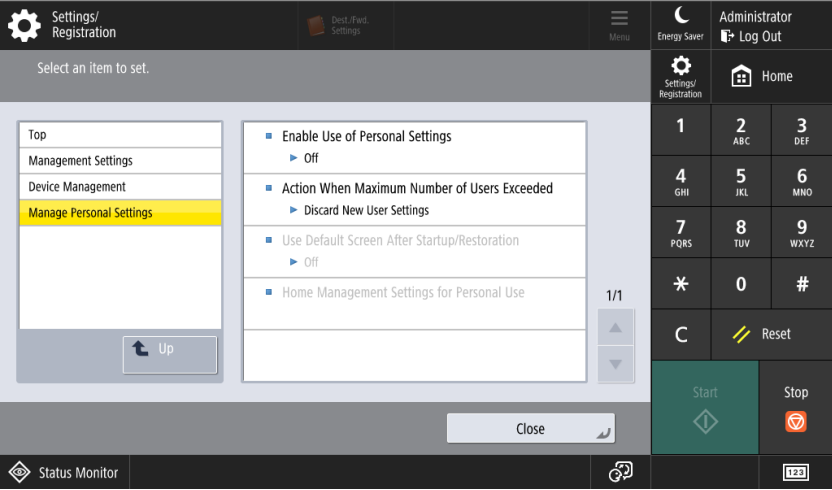
Access Management Settings > Device Management > Manage Personal Settings

Set up the options Use Default Screen After Startup/Restoration and Enable Use of Personal Settings to OFF
After installing the applications, restart the printer:
Return to the printer's web homepage by clicking To Portal in the top right corner
In the right sidebar, click on Settings/Registration
In the left sidebar, click the Restart Device button
Click the Perform Restart button
Click the OK button
Wait for the printer to restart to Configuring the NDD Print Client Canon.