Configure the PostgreSQL database
In this article, you'll learn how to set up and configure the PostgreSQL database to use NDD Print MF Epson.
Before you start
This configuration is applicable only to scenarios in which the installation or update of NDD Print MF Epson was carried out using the option "I have a PostgreSQL database and I want to use it".
This configuration must be carried out before adding new printers to NDD Print MF Epson.
It is recommended that you always use a dedicated database for NDD Print MF Epson.
We recommend that you make a backup of the database.
Step 1: Create the database
This step is only for cases where you don't have a database created.
This tutorial was created using pgAdmin 4 8.9.
Open the pgAdmin interface
Click on Object > Create > Database
In the General tab, fill in the name of the database and the Owner
The Owner user must have read and write permission on the database.
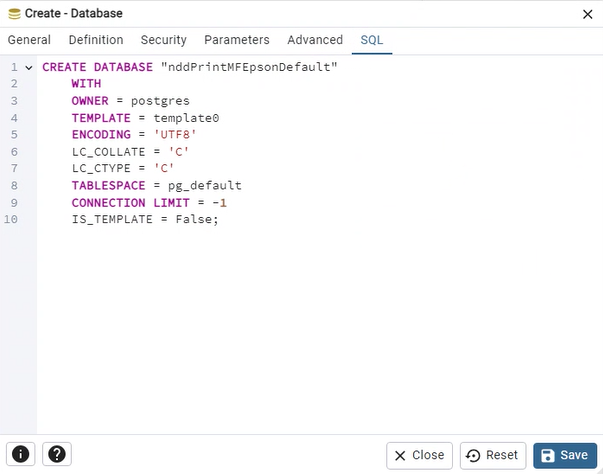
In the SQL tab you can see a summary of the database settings:
Click on Save
Step 2: Configuring database access
Open the NDD Print MF Epson interface
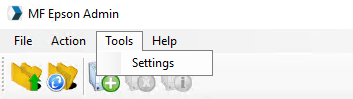
In the menu, click on Tools > Settings
Select PostgreSQL
Fill in the database information
If you use a user with permission to create, NDD Print MF Epson will create the tables in the selected database. If you don't have permission to create, use the SQL script.
Click Apply > OK
Step 3: Create the database tables
Go to the NDD Print MF Epson installation folder
Open the
CreateDatabasePostgres.sqlfile and copy its contentsIn pgAdmin, right-click on the created database
Click on Query tool
Paste the contents of the
CreateDatabasePostgres.sqlfile and click execute
When finished, configure access to the database
Common errors
Errors | Solution |
|---|---|
| Check that the postgreSQL service is running. |